Jenkins 构建配置
1、手动发布任务
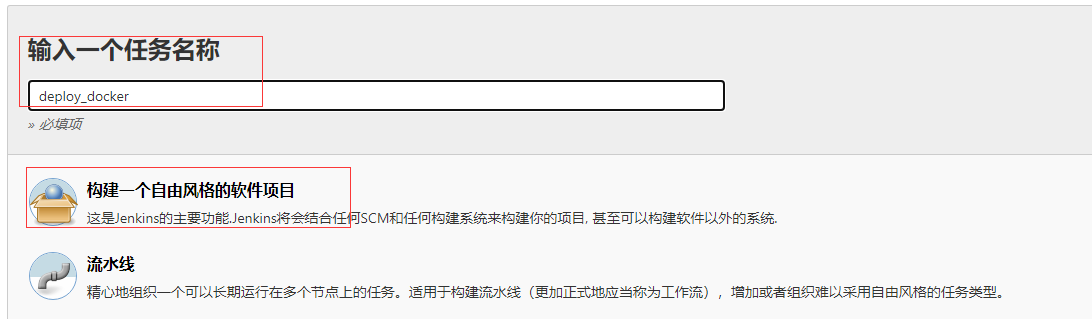
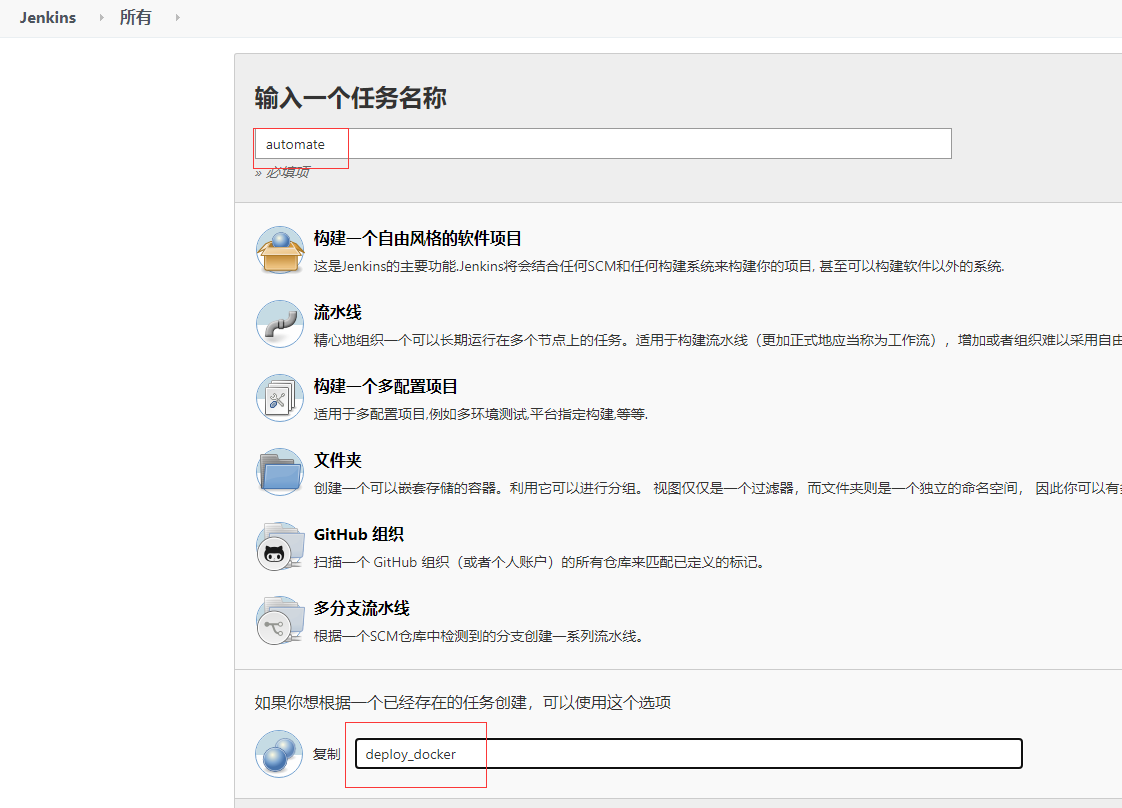
1.1 新建任务
选择构建一个自由风格的软件项目
点击确定之后会跳入配置界面,接下来就是配置我们的自动化操作,首先是配置项目的拉取地址,配置gitlab的项目地址
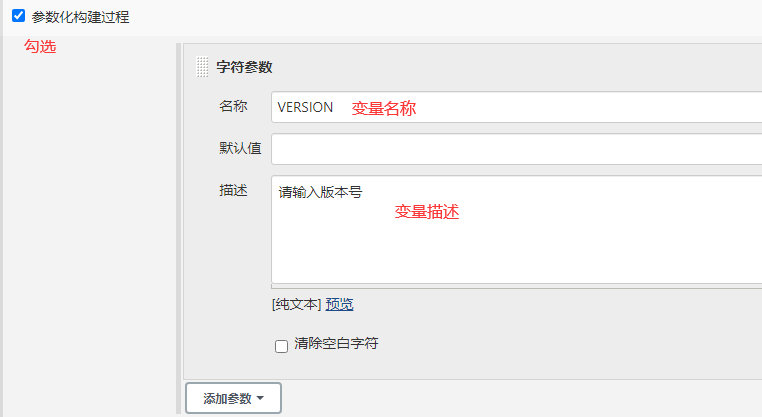
1.2 添加参数化
1.3配置源码管理
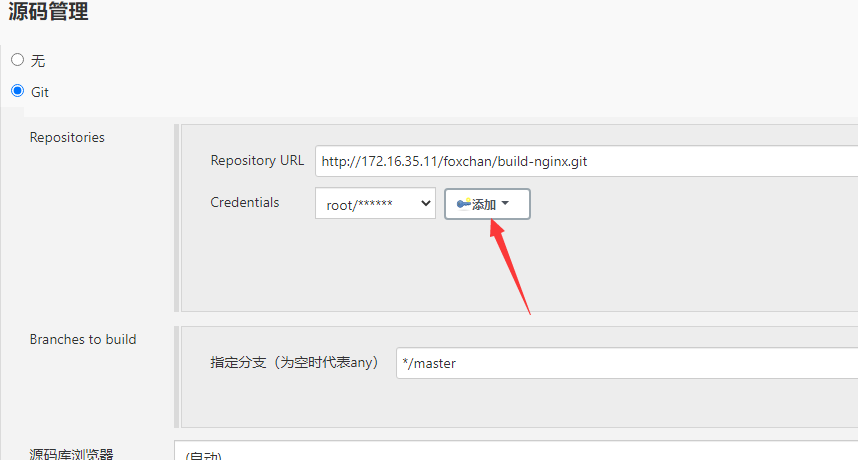
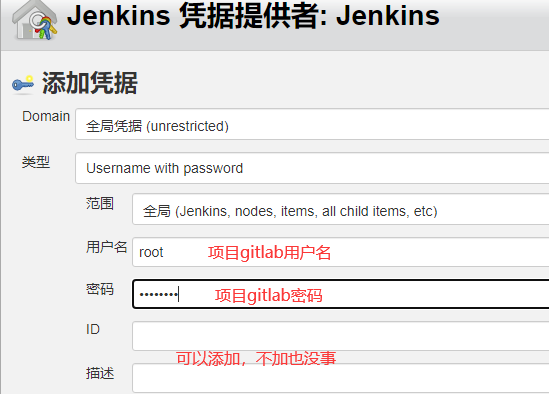
点击添加GitLab的账户密码,不添加时会报红,是没法在GitLab中拉取代码的
1.4 配置构建信息
本机发布
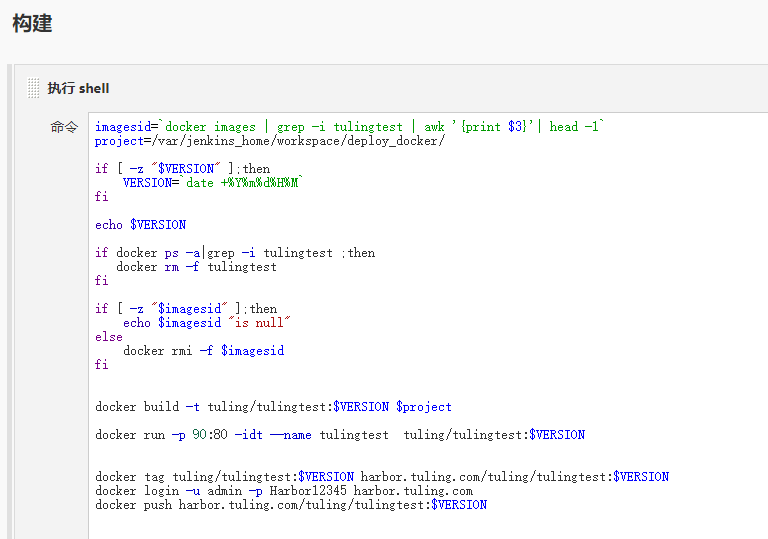
代码如下
两种控制版本的方式,当自动触发构建或者版本号为空时使用时间戳作为版本,当填入版本号时使用填入的版本号
imagesid=`docker images | grep -i tulingtest | awk '{print $3}'| head -1`
project=/var/jenkins_home/workspace/deploy_docker/

if [ -z "$VERSION" ];then
    VERSION=`date +%Y%m%d%H%M`
fi

echo $VERSION

if docker ps -a|grep -i tulingtest ;then
   docker rm -f tulingtest
fi

if [ -z "$imagesid" ];then
    echo $imagesid "is null"
else
    docker rmi -f $imagesid
fi


docker build -t tuling/tulingtest:$VERSION $project

docker run -p 90:80 -idt --name tulingtest  tuling/tulingtest:$VERSION


docker tag tuling/tulingtest:$VERSION harbor.tuling.com/tuling/tulingtest:$VERSION
docker login -u admin -p Harbor12345 harbor.tuling.com
docker push harbor.tuling.com/tuling/tulingtest:$VERSION
发布到其他主机
如果要把应用部署到别的机器,需要添加构建shell,并且把构建脚本进行修改

执行shell
project=/var/jenkins_home/workspace/deploy_docker/

if [ -z "$VERSION" ];then
    VERSION=`date +%Y%m%d%H%M`
fi

echo $VERSION

docker build -t tuling/tulingtest:$VERSION $project
docker tag tuling/tulingtest:$VERSION harbor.tuling.com/tuling/tulingtest:$VERSION
docker login -u admin -p Harbor12345 harbor.tuling.com
docker push harbor.tuling.com/tuling/tulingtest:$VERSION
远程执行shell
imagesid=`docker images | grep -i tulingtest | awk '{print $3}'| head -1`
if docker ps -a|grep -i tulingtest ;then
   docker rm -f tulingtest
fi

if [ -z "$imagesid" ];then
    echo $imagesid "is null"
else
    docker rmi -f $imagesid
fi
docker run -p 90:80 -idt --name tulingtest harbor.tuling.com/tuling/tulingtest:$VERSION
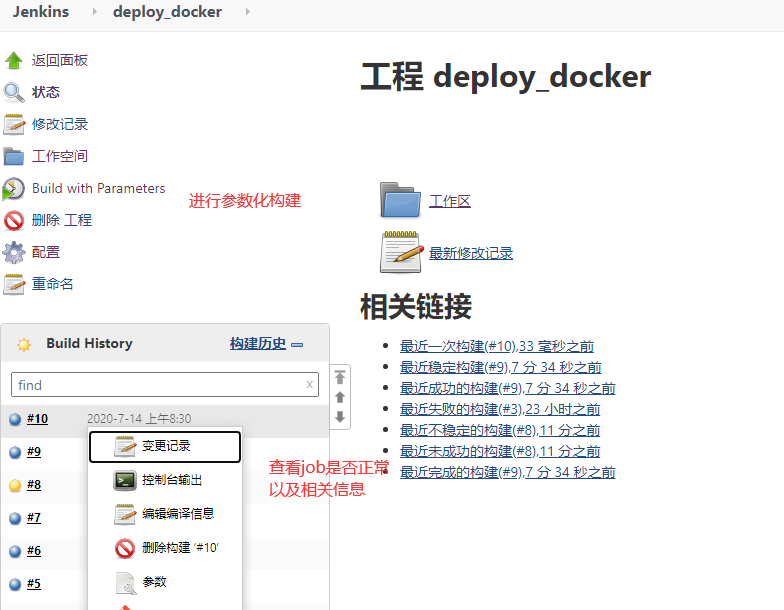
到这,我们就可以运行一下了,点击立即构建,然后通过点击 Build History 中的 控制台输出
2、自动化触发构建
之前我们都是手动触发构建和上线操作,如果是测试环境,版本更新很快,手动触发又累又耗费时间,所以这里开始讲述第二种方式,通过webhook 自动触发构建和上线。
2.1 复制之前的流程
2.2 构建触发器
复制完成后,我们进入项目配置界面,切换至构建触发器:
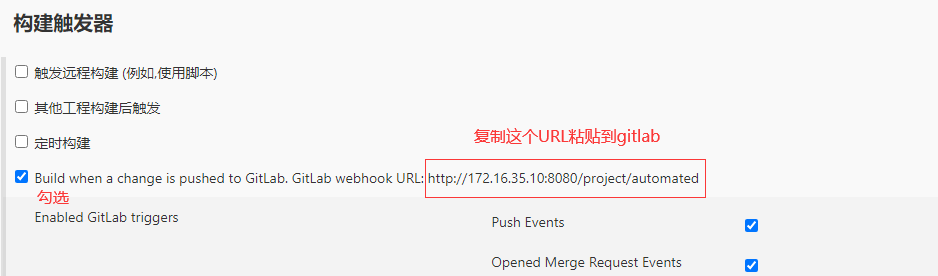

2.3 配置gitlab
复制之前jenkins图中内容,然后进入GitLab项目中的 setting > Integration
注意,这里是项目中的,非GitLab的setting配置。 另外,gitlab版本不同 webhook 配置不同
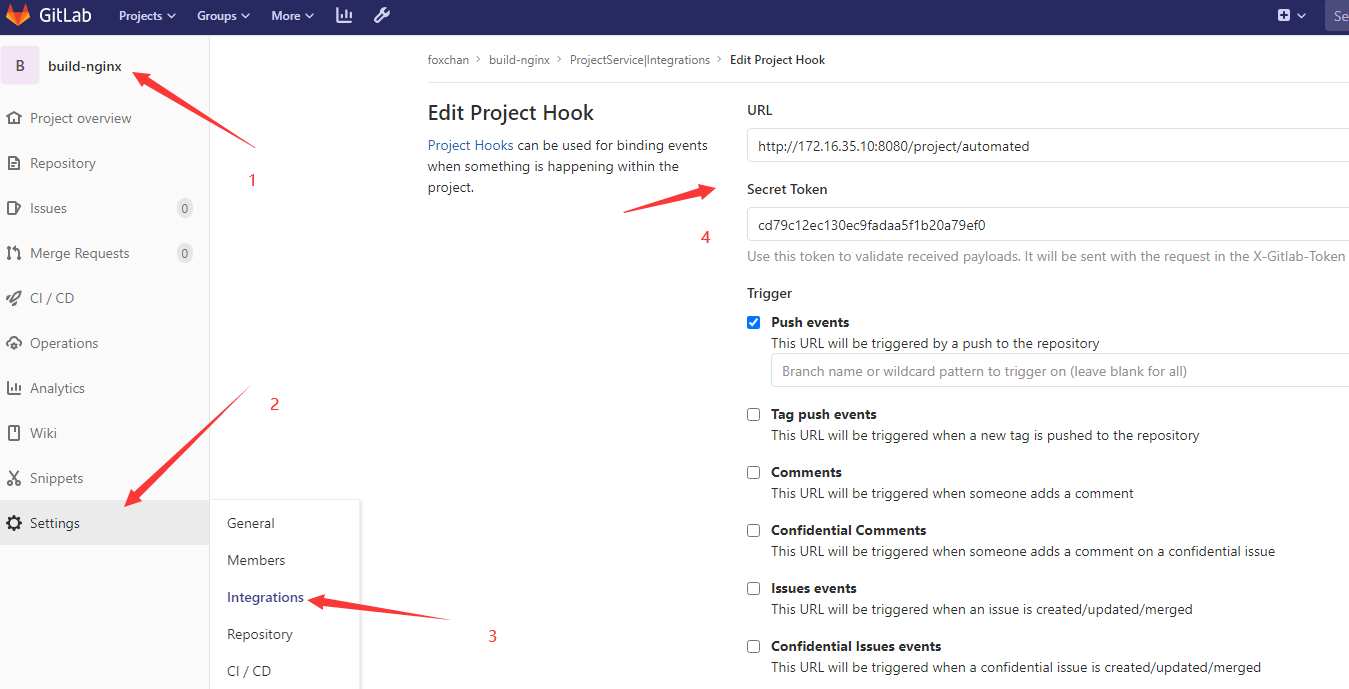
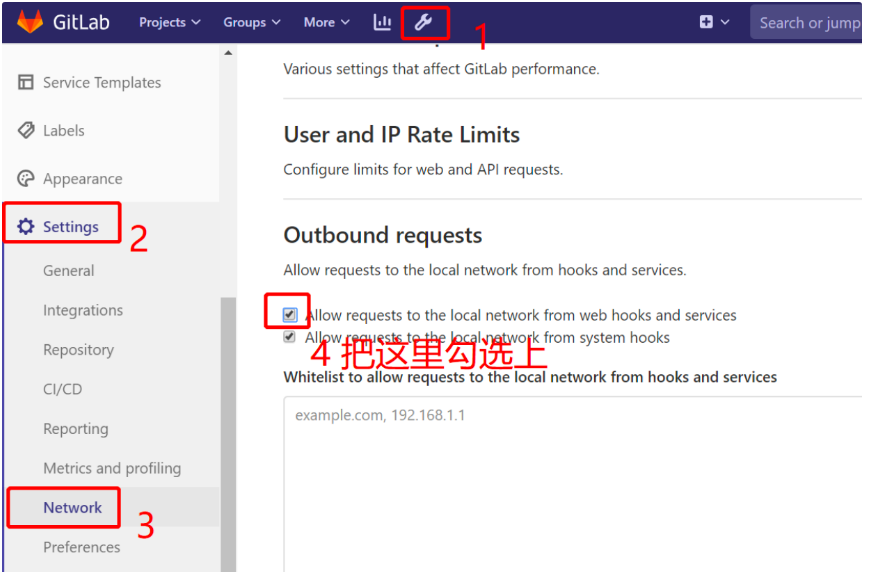
点击Add webhook时,如果出现 Url is blocked: Requests to the local network are not allowed

解决方法: 进入GitLab首页顶部的小扳手 setting > Network 目录,执行如下4步,不要忘记最后点击 save changes
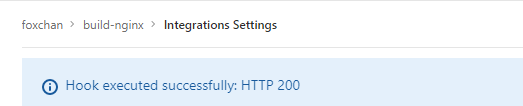
然后我们再回到之前界面重新添加一下链接,点击Add webhook配置之后测试一下:

如果上方提示200代表配置成功:
然后我们回到Jenkins项目面板就可以看到自动构建了:
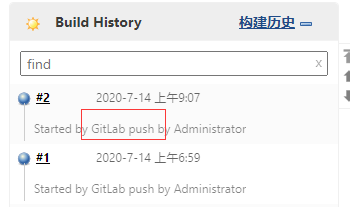
到这基本就完成自动化创建了,谢谢大家耐心阅读